
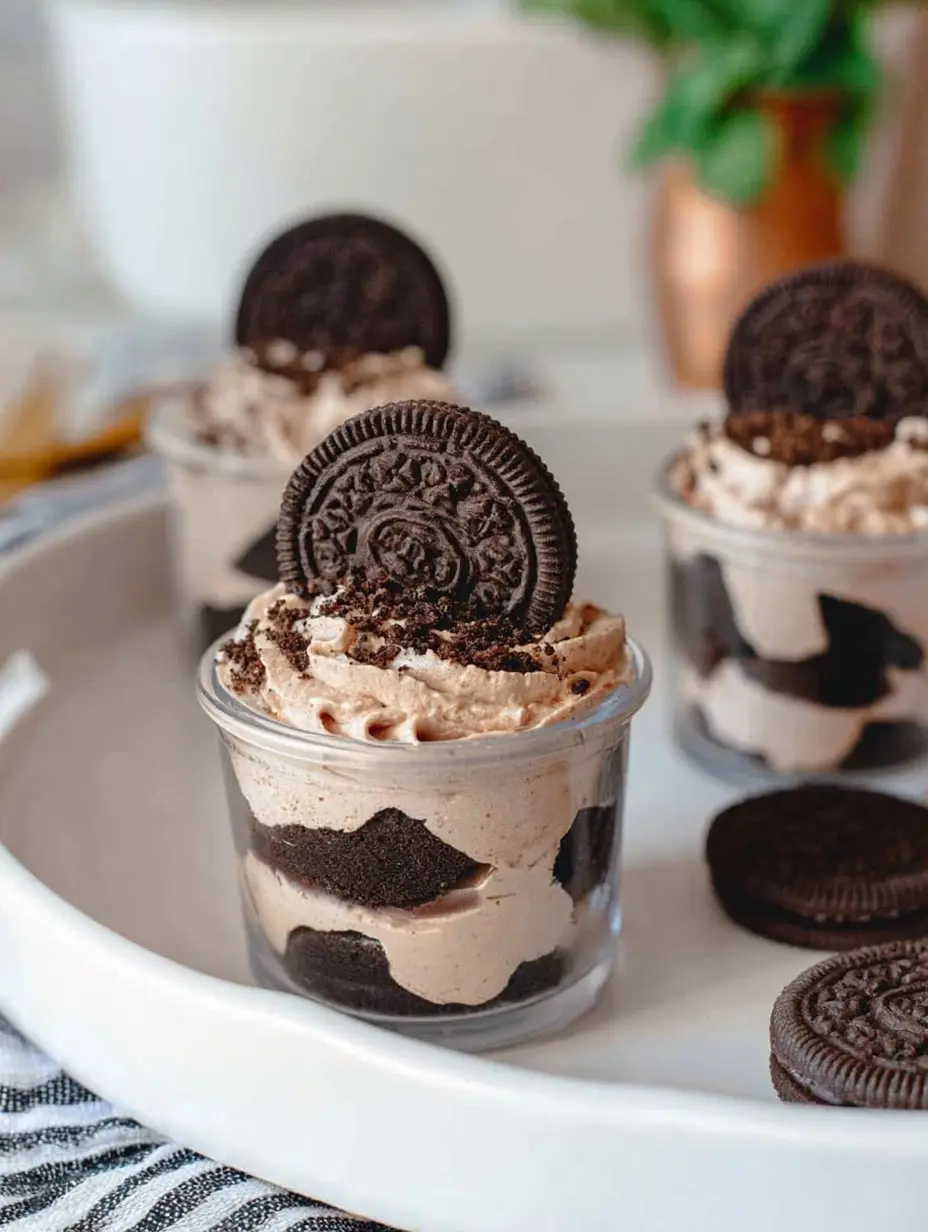
Indulge your sweet tooth with these decadent No Bake Oreo Dessert Cups. This recipe simplifies the art of dessert making by eliminating the oven and focusing on rich flavors and satisfying textures. These cups combine the iconic crunch of chocolate sandwich cookies with a silky, cocoa-infused cream cheese mousse.
Whether you need a quick treat for a dinner party or a kid-friendly snack for a weekend gathering, these individual servings offer the perfect solution. You only need a few pantry staples and a little bit of patience while they chill to perfection.
Why You Will Love This Easy No-Bake Recipe
Convenience defines this recipe. Many modern bakers prefer no-bake options because they save time and keep the kitchen cool during warm months. These Oreo cups provide a sophisticated look with very little effort. By layering the ingredients, you create a beautiful visual appeal that rivals professional bakery offerings.
Furthermore, the use of cold heavy whipping cream ensures a stable, airy texture that holds up well in the refrigerator for days. We use purely permissible, high-quality ingredients to ensure everyone can enjoy a bite of heaven.
Detailed Ingredient Guide
Success with any recipe starts with understanding the components. Each ingredient in these dessert cups plays a vital role in achieving that signature creamy mouthfeel. Here is what you will need:
The Oreo Crust and Topping
We use approximately 16 to 18 classic chocolate sandwich cookies. When you crush these into fine crumbs, they form the structural base of your dessert. The dark cocoa powder in the cookies provides a deep chocolate flavor that balances the sweetness of the filling.
The Fluffy Cream Cheese Base
Ensure your cream cheese sits at room temperature before you begin. Softened cream cheese blends smoothly without leaving lumps. This ingredient provides the necessary tanginess and body to the filling, transforming a simple whipped cream into a stable mousse.
Heavy Whipping Cream
Cold heavy cream is essential. The high fat content allows the mixture to trap air bubbles, resulting in stiff peaks that maintain their shape once piped into the cups. Always keep your cream in the refrigerator until the very moment you are ready to whip it.
Sweeteners and Flavor Enhancers
We use powdered sugar because it contains a small amount of cornstarch, which helps stabilize the cream. Added to this is unsweetened cocoa powder for an extra boost of chocolatey goodness. A teaspoon of vanilla extract and a pinch of salt round out the flavors, highlighting the richness of the cocoa.
Step-by-Step Instructions
Follow these simple steps to build your chocolate masterpiece:
1. Prepare the Cookie Crumbs
Place your Oreos in a food processor and pulse until they reach a fine, sandy texture. If you do not have a processor, place the cookies in a sealed plastic bag and crush them with a rolling pin. Divide half of these crumbs between eight small serving cups, using about one tablespoon per cup.
2. Build the Creamy Filling
In a large mixing bowl, use a hand mixer to beat the softened cream cheese until it appears light and fluffy. Slowly pour in the cold heavy whipping cream, vanilla extract, and a pinch of salt.
Sift in the powdered sugar and unsweetened cocoa powder to avoid any clumps. Continue whipping the mixture on medium-high speed until it becomes thick and forms stiff peaks.
3. Layer the Dessert
Transfer the chocolate mousse into a large piping bag. Carefully pipe about one-quarter cup of the mixture into each cup over the bottom layer of crumbs. Add another layer of crushed Oreos followed by a final layer of the whipped cream. Smoothing the top or creating a decorative swirl adds a professional touch.
4. Final Garnish and Chilling
Top each cup with the remaining cookie crumbs. For the best texture, place the cups in the refrigerator for at least three hours. This chilling time allows the flavors to meld and the mousse to firm up significantly.
Nutrition Information
| Nutrient | Amount per Serving |
|---|---|
| Calories | 509 kcal |
| Total Fat | 37 g |
| Carbohydrates | 44 g |
| Sugar | 35 g |
| Protein | 5 g |
| Fiber | 2 g |
| Sodium | 159 mg |
Pro Tips for Success
To ensure your No Bake Oreo Dessert Cups turn out perfectly every time, keep these tips in mind. First, always use full-fat cream cheese and heavy cream for the richest result. Do not over-beat the mixture once it reaches stiff peaks, or you risk turning the cream into butter. If you want a more intense chocolate flavor, you can use dark cocoa powder.
If the mixture feels too thick to pipe, you can gently fold in a tablespoon of liquid cream to loosen it. For a festive look, top the cups with a whole mini Oreo or a dusting of extra cocoa powder just before serving.
Storage and Make-Ahead Advice
These dessert cups are perfect for making ahead of time. You can store them in the refrigerator, covered with plastic wrap, for up to three days. While they are best served chilled, you can also freeze them for a frozen mousse experience.
If freezing, let them sit at room temperature for about ten minutes before eating to soften slightly. Avoid leaving them at room temperature for more than an hour, as the whipped cream may begin to lose its structure.
Conclusion
Creating a gourmet dessert does not have to involve hours in the kitchen or a hot oven. These No Bake Oreo Dessert Cups offer a sophisticated balance of crunch and cream. With simple ingredients and a straightforward method, you can impress your guests and satisfy your family’s cravings for something sweet.
Try this recipe today and experience the joy of a perfect no-bake treat.
Recipe
Print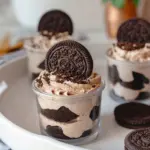
No Bake Oreo Dessert Cups
- Total Time: 3 hr 15 min
- Yield: 8 servings 1x
- Diet: Vegetarian
Description
Rich and creamy individual chocolate mousse cups layered with crushed Oreo cookies.
Ingredients
18 Oreos (crushed)
4 oz cream cheese (at room temperature)
2 1/2 cups heavy whipping cream (cold)
1 tsp vanilla extract
1 pinch salt
1 cup powdered sugar
1/4 cup unsweetened cocoa powder
Instructions
- Crush the Oreo cookies in a food processor until fine crumbs form.
- Divide half the crumbs into 8 serving cups (approx 1 tbsp each).
- Whip the softened cream cheese in a bowl until fluffy.
- Add heavy cream, vanilla, salt, powdered sugar, and cocoa powder.
- Whip on high until stiff peaks form.
- Pipe a layer of cream mixture into the cups, add another layer of crumbs, and top with more cream.
- Sprinkle the remaining crumbs on top and chill for 3 hours before serving.
Notes
- Keep cream cold until use for best volume.
- Use room temperature cream cheese to avoid lumps.
- Store in the refrigerator for up to 3 days.
- Prep Time: 15 min
- Cook Time: 0 min
- Category: Dessert
- Method: No-Bake
- Cuisine: American
Nutrition
- Serving Size: 1 cup
- Calories: 509 kcal
- Sugar: 35 g
- Sodium: 159 mg
- Fat: 37 g
- Saturated Fat: 22 g
- Unsaturated Fat: 12 g
- Trans Fat: 0 g
- Carbohydrates: 44 g
- Fiber: 2 g
- Protein: 5 g
- Cholesterol: 110 mg