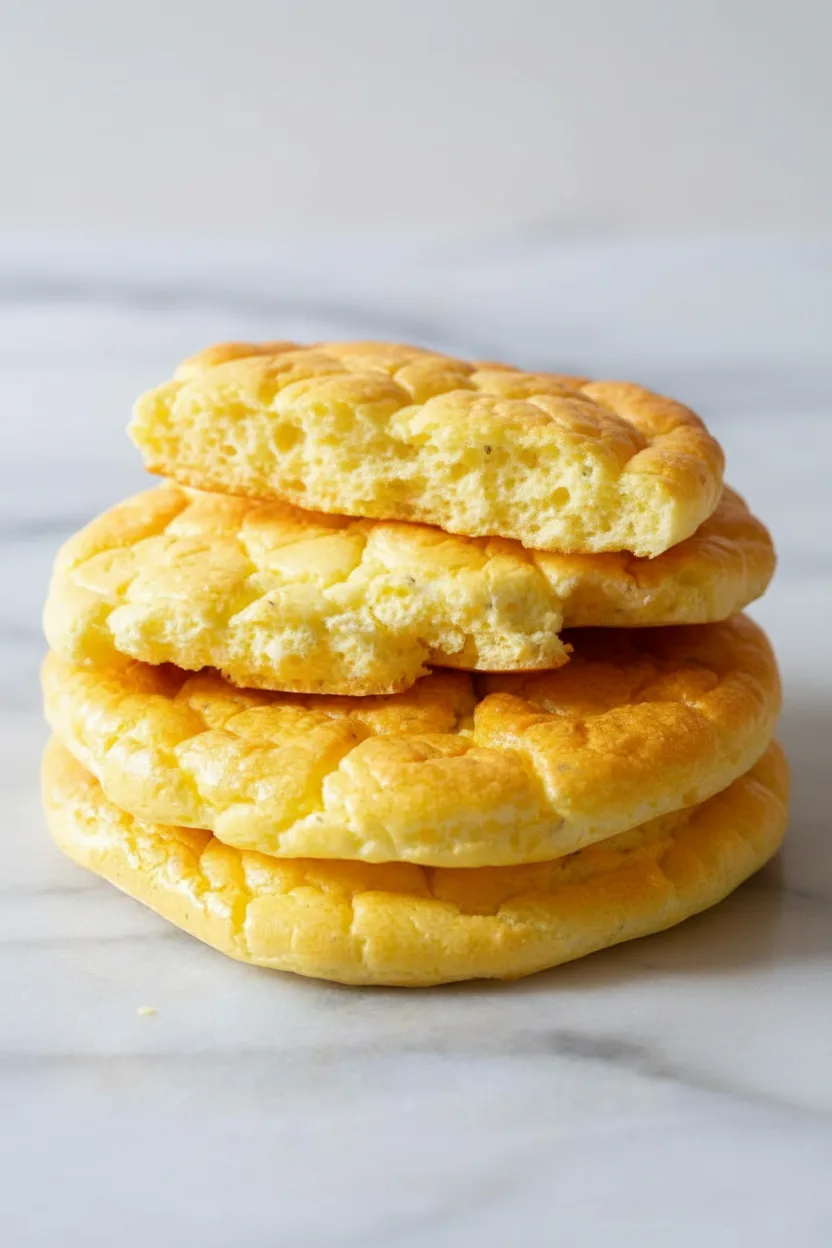
If you’re looking for a delicious and healthy bread alternative, you’re in luck. This fluffy keto cloud bread recipe is a game-changer. Made with just a few simple ingredients, it’s easy to make and is perfect for sandwiches, toast, or just snacking on its own. In this article, we’ll take a closer look at what makes this recipe so special and provide you with all the tips and tricks you need to make it at home.
Why You’ll Love This Keto Cloud Bread
There are many reasons why you’ll love this keto cloud bread recipe. First and foremost, it’s incredibly delicious. The combination of cream cheese, eggs, and Italian seasoning gives it a rich and tangy flavor that’s hard to resist. Additionally, it’s very low in carbs, making it a great option for those following a ketogenic diet. It’s also very versatile and can be used in a variety of different ways, from making sandwiches to serving as a side dish.
Furthermore, this recipe is very easy to make. It requires just a few simple ingredients and can be prepared in under 30 minutes. This makes it a great option for busy weeknights or for those who are new to cooking. To get started, be sure to check out our guide to making the perfect salad, which includes some great tips for using this bread as a base.
Recipe
Print
Fluffy Keto Cloud Bread Recipe
- Total Time: 25 min
- Yield: 10 servings 1x
Description
A delicious and healthy bread alternative, perfect for sandwiches, toast, or snacking on its own.
Ingredients
- 4 large eggs (separated)
- 1/2 teaspoon cream of tartar
- 2 ounces low-fat cream cheese
- 1 teaspoon Italian herb seasoning
- 1/2 teaspoon sea salt
- 1/4 – 1/2 teaspoon garlic powder
Instructions
- Preheat the oven to 300 degrees F. If you have a convection oven, set on convect.
- Line two large baking sheets with parchment paper.
- Separate the egg whites and egg yolks. Place the whites in a stand mixer with a whip attachment. Add the cream of tartar and beat on high until the froth turns into firm meringue peaks. Move to a separate bowl.
- Place the cream cheese in the empty stand mixing bowl. Beat on high to soften. Then add the egg yolks one at a time to incorporate. Scrape the bowl and beat until the mixture is completely smooth. Then beat in the Italian seasoning, salt, and garlic powder.
- Gently fold the firm meringue into the yolk mixture. Try to deflate the meringue as little as possible, so the mixture is still firm and foamy.
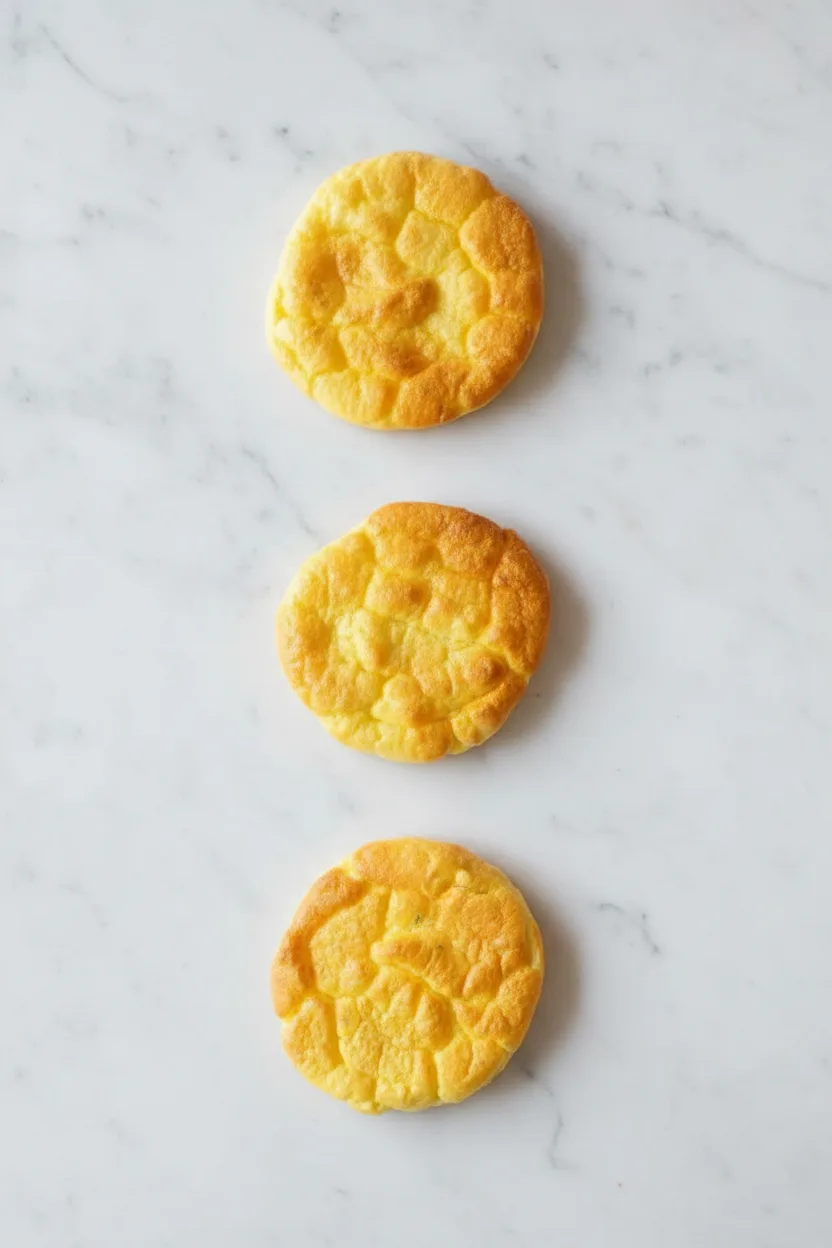
- Spoon 1/4 cup portions of the foam onto the baking sheets and spread into even 4-inch circles, 3/4 inch high. Make sure to leave space around each circle.
- Bake on convect for 15-18 minutes, or in a conventional oven for up to 30 minutes. The bread should be golden on the outside and firm. The center should not jiggle when shaken.
- Cool for several minutes on the baking sheets, then move and serve!
Notes
- Make sure to separate the eggs carefully, as any yolk that gets into the whites can prevent them from beating properly.
- Don’t overmix the yolk mixture, as this can make the bread dense and heavy.
- Be gentle when folding the meringue into the yolk mixture, as this will help preserve the air pockets that make the bread so light and fluffy.
- Prep Time: 10 min
- Cook Time: 15 min
- Category: Main Course
- Method: Baked
- Cuisine: American
Nutrition
- Calories: 36 kcal
- Sugar: 0 g
- Sodium: 167 mg
- Fat: 2 g
- Carbohydrates: 0 g
- Fiber: 0 g
- Protein: 2 g
Ingredients and Substitutions
Base Components
The base components of this recipe are eggs, cream cheese, and Italian seasoning. These ingredients provide the bulk of the flavor and texture of the bread. The eggs are separated into whites and yolks, with the whites being beaten until they form stiff peaks. The cream cheese is softened and then mixed with the egg yolks and Italian seasoning.
Sauce and Seasonings
In addition to the base components, this recipe also includes some additional sauce and seasonings. The Italian seasoning adds a rich and savory flavor, while the garlic powder provides a subtle kick. You can adjust the amount of garlic powder to taste, depending on your personal preferences.
How to Make Fluffy Keto Cloud Bread
Step 1: Preheat the Oven
To get started, preheat your oven to 300 degrees F. If you have a convection oven, be sure to set it to convect. This will help the bread cook more evenly and prevent it from burning.
Step 2: Separate the Eggs
Next, separate the eggs into whites and yolks. Place the whites in a stand mixer with a whip attachment and beat until they form stiff peaks. This should take about 5-7 minutes, depending on the speed of your mixer.
Step 3: Mix the Yolk Mixture
While the egg whites are beating, mix the cream cheese, egg yolks, Italian seasoning, and garlic powder in a separate bowl. Beat until the mixture is smooth and creamy, scraping down the sides of the bowl as needed.
Step 4: Fold the Meringue
Once the egg whites have formed stiff peaks, gently fold them into the yolk mixture. Be careful not to deflate the meringue, as this will affect the texture of the bread.
Step 5: Spoon onto Baking Sheets
Spoon the mixture onto two large baking sheets lined with parchment paper. You should end up with about 10-12 rounds of bread, depending on the size of your spoonfuls.
Pro Tips for Success
To ensure that your keto cloud bread turns out light and fluffy, be sure to follow a few key tips. First, make sure to separate the eggs carefully, as any yolk that gets into the whites can prevent them from beating properly. Second, don’t overmix the yolk mixture, as this can make the bread dense and heavy. Finally, be gentle when folding the meringue into the yolk mixture, as this will help preserve the air pockets that make the bread so light and fluffy.
For more tips on how to make the perfect salad to go along with your keto cloud bread, be sure to check out our guide to winter citrus kale salad. This recipe is a great way to add some freshness and flavor to your meal, and it pairs perfectly with the rich and tangy flavor of the bread.
Flavor Variations
One of the best things about this keto cloud bread recipe is that it’s highly customizable. You can add a variety of different seasonings and ingredients to give it a unique flavor. Some ideas include adding dried herbs, such as thyme or rosemary, or using different types of cheese, such as cheddar or parmesan.
Serving Suggestions
This keto cloud bread is perfect for serving as a side dish or using as a base for sandwiches. You can top it with a variety of different ingredients, such as meats, cheeses, and vegetables, to create a delicious and satisfying meal. It’s also great for snacking on its own, either plain or topped with a pat of butter or a sprinkle of cheese.
For a delicious and easy-to-make salad to serve alongside your keto cloud bread, be sure to check out our recipe for Korean cucumber salad. This recipe is a great way to add some spice and flavor to your meal, and it pairs perfectly with the light and fluffy texture of the bread.
Storage and Freezing Instructions
This keto cloud bread is best served fresh, but it can also be stored in the fridge or freezer for later use. To store, simply place the bread in an airtight container and refrigerate for up to 5 days or freeze for up to 2 months.
Nutrition Facts per Serving
| Calories | Fat | Carbs | Protein | Fiber | Sugar | Sodium |
|---|---|---|---|---|---|---|
| 36 kcal | 2 g | 0 g | 2 g | 0 g | 0 g | 167 mg |
FAQs About Keto Cloud Bread
What is Keto Cloud Bread?
Keto cloud bread is a type of bread that is made with a combination of eggs, cream cheese, and Italian seasoning. It’s low in carbs and rich in protein and fat, making it a great option for those following a ketogenic diet.
How Do I Store Keto Cloud Bread?
Keto cloud bread is best served fresh, but it can also be stored in the fridge or freezer for later use. To store, simply place the bread in an airtight container and refrigerate for up to 5 days or freeze for up to 2 months.
Final Thoughts
In conclusion, this fluffy keto cloud bread recipe is a game-changer for anyone following a ketogenic diet. It’s delicious, easy to make, and highly customizable, making it a great option for a variety of different meals and snacks. Whether you’re looking for a new breakfast idea or a tasty side dish, this recipe is sure to become a favorite. So why not give it a try today and see what you think?