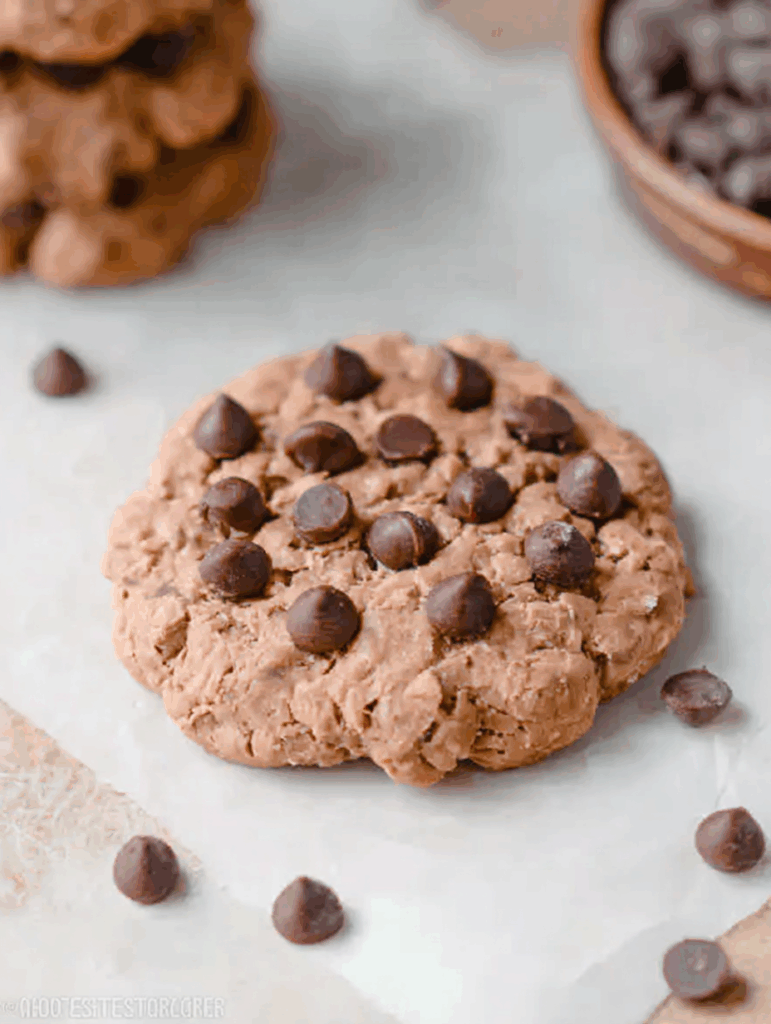
Need a sweet snack that fits your goals? These no bake protein cookies are quick, delicious, and packed with nutrients. With no oven needed, they’re perfect for meal prep, post-workout cravings, or anytime fuel.
Why No Bake Protein Cookies Are Your New Go-To Snack
You know that moment when your energy dips and you just want something fast—but also good for you? That’s where no bake protein cookies step in. They’re made with simple ingredients, come together in just five minutes, and check all the right boxes: high in protein, gluten-free, dairy-free, and naturally sweetened.
Here’s why these no bake cookies might become your new favorite:
- No oven, no problem: Prep them in one bowl with zero baking.
- Balanced macros: Each cookie offers around 8g of protein and under 125 calories.
- Customizable: Use your favorite nut butter or swap oat flour for almond flour.
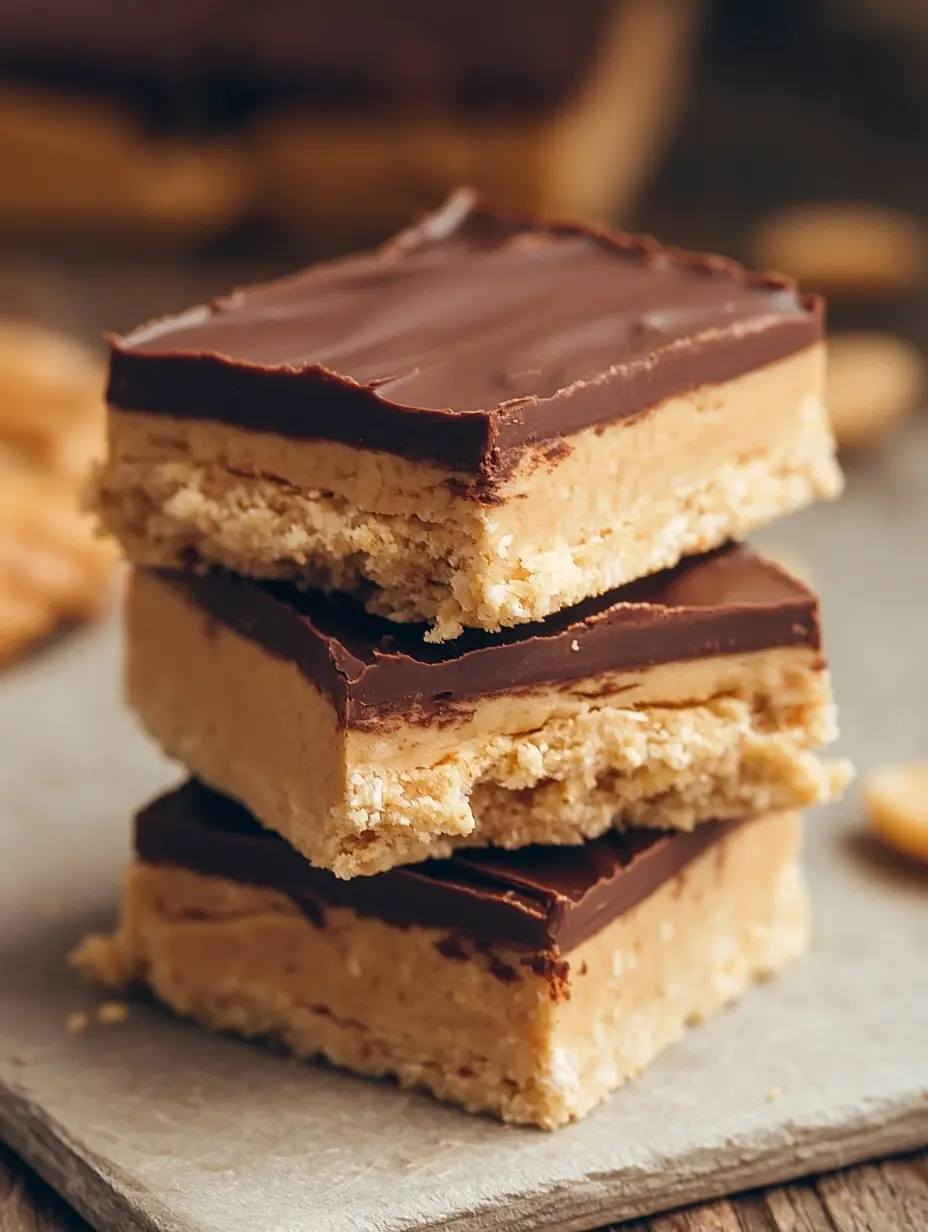
Unlike some store-bought protein snacks that are packed with artificial fillers, these cookies stay clean and nourishing. The base is made from oat flour and protein powder, then naturally sweetened with maple syrup or honey, and bound with creamy nut butter. That combo brings just the right chew, richness, and nutrition in every bite.
If you’re into sweet, nutrient-dense options like protein brownie bites, these no bake cookies bring the same comfort—only faster. They’re ideal for post-workout munchies, after-dinner cravings, or mid-afternoon pick-me-ups without the crash.
Next, we’ll dig into how to choose the right protein powder so your cookies always come out perfect.
Recipe
Print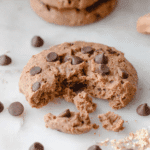
No Bake Protein Cookies
- Total Time: 5 minutes
- Yield: 12 cookies 1x
Description
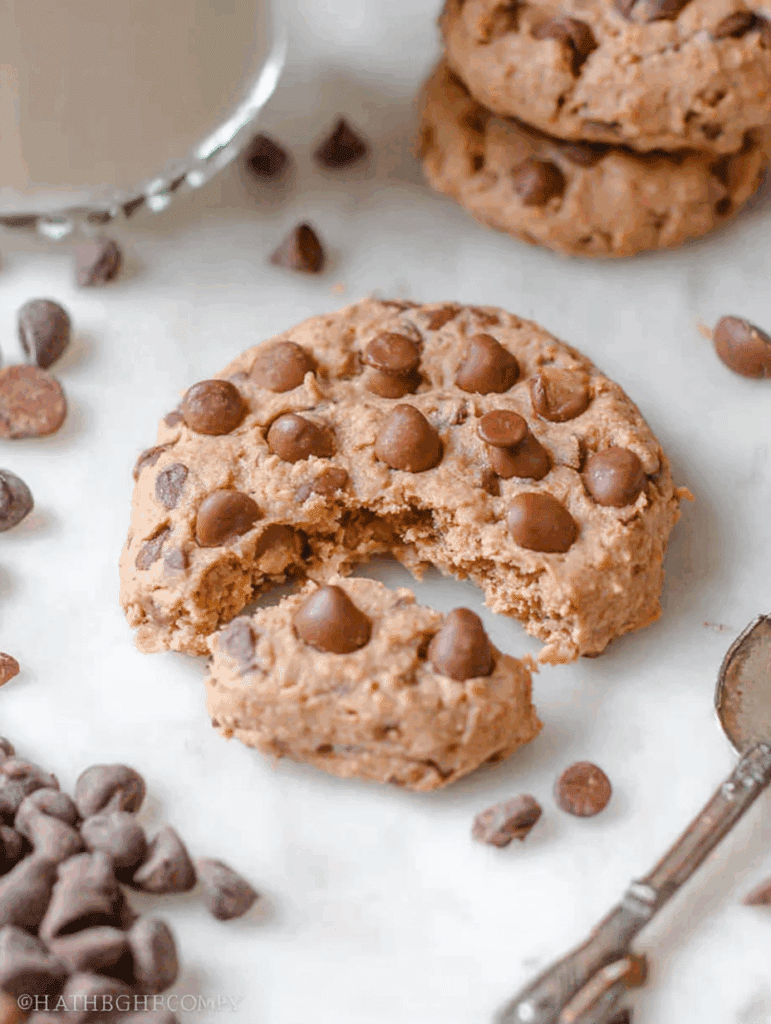
These no bake protein cookies are soft, chewy, and ready in just 5 minutes. Packed with 8g protein per cookie, they’re the perfect healthy treat for dessert, post-workout, or meal prep. Vegan, gluten-free, and dairy-free!
Ingredients
- 70 grams (¾ cup) oat flour, sub with rolled oats or almond flour
- 70 grams (¾ cup) protein powder
- 120 grams (½ cup) nut butter, peanut butter, almond butter or cashew butter
- 80 grams (⅓ cup) maple syrup, or honey
Instructions
- In a large mixing bowl, combine oat flour with protein powder, maple syrup and nut butter.
- Stir well until you get a soft dough, first with a fork and then using your hands.
- If needed, adjust the dough with more oat flour or a drop of milk depending on the protein powder used.
- Shape the cookies and place over a baking tray or plate lined with parchment paper.
- Refrigerate for at least 30 minutes before serving.
Notes
- You can use whey, plant-based, or casein protein powder.
- Plant-based and casein absorb more liquid, so you may need to add a splash of milk.
- If using whey, you may need extra oat flour to adjust consistency.
- Cookies can be rolled into balls or pressed into bars.
- Prep Time: 5 minutes
- Cook Time: 0 minutes
- Category: Snacks
- Method: No Bake
- Cuisine: Healthy
Nutrition
- Serving Size: 1 cookie
- Calories: 123.2
- Sugar: 5.5g
- Sodium: 11.4mg
- Fat: 5.9g
- Saturated Fat: 1.2g
- Unsaturated Fat: 4.1g
- Trans Fat: 0g
- Carbohydrates: 11.3g
- Fiber: 1.1g
- Protein: 7.9g
- Cholesterol: 9.7mg
Choosing the Right Protein Powder for No Bake Cookies
When it comes to making no bake protein cookies that actually taste good, the protein powder you use makes a big difference. It’s not just about nutrition—it directly affects the texture, moisture, and flavor of your final cookie.
Whey vs Plant-Based: What Works Best in No Bake Recipes
Both whey and plant-based protein powders work well, but they behave differently in no bake recipes. Here’s how they compare:
| Protein Type | Texture Impact | Moisture Level | Flavor Profile |
|---|---|---|---|
| Whey Protein | Smooth, soft dough | Slightly sticky | Mild and versatile |
| Plant-Based Protein | Drier, denser texture | Absorbs moisture | Earthier or nuttier taste |
Whey protein (especially isolate or concentrate) blends easily and gives your cookies a soft, chewy texture. It’s ideal if you want your cookies to feel more like traditional dough.
On the other hand, plant-based protein—like pea, rice, or a blend—tends to absorb more liquid. This can lead to a thicker, stiffer dough. If you’re going this route, you may need a splash of plant-based milk or a little extra maple syrup to help the dough come together.
How Protein Type Affects Texture and Taste
If you’ve ever tried a no bake recipe and ended up with dry or crumbly results, it’s likely due to the type of protein used. Casein and plant blends absorb more liquid, which means your base mixture may feel dry even when you’ve followed the recipe exactly. That’s totally fixable—just add ½ tablespoon of nut butter or a teaspoon of milk at a time until it reaches soft dough status.
Flavor-wise, go with a vanilla or chocolate protein powder that tastes good on its own. A protein with a chalky or bitter aftertaste won’t magically taste better in cookies. If you’re not sure which flavor to pick, vanilla usually works best—it pairs well with nut butter and sweeteners.
And yes, if you’re already enjoying high-protein snacks like these peanut butter Greek yogurt bites, your favorite protein powder will likely work here, too. Just be ready to tweak the moisture level slightly.
Up next, we’ll walk through how to make the perfect dough with step-by-step tips.
How to Make the Perfect No Bake Protein Cookies
No bake cookies sound simple—and they are—but getting the dough just right makes all the difference. You don’t want a cookie that crumbles apart or turns sticky and hard in the fridge. The secret? Balance. And a few small mixing tricks.
Step-by-Step with Pro Tips for the Perfect Dough
This recipe uses just four core ingredients:
- Oat flour or almond flour
- Protein powder (whey or plant-based)
- Nut butter of your choice
- Maple syrup or honey
Let’s break it down:
- In a large mixing bowl, combine ¾ cup (70 g) oat flour and ¾ cup (70 g) protein powder.
- Add ½ cup (120 g) nut butter. Peanut, almond, or cashew all work well.
- Pour in ⅓ cup (80 g) maple syrup or honey.
- Mix with a fork until a dough starts to form.
- Switch to your hands to knead the dough gently until smooth. If it’s too dry, add 1–2 tsp of milk. If too wet, sprinkle in a bit more flour.
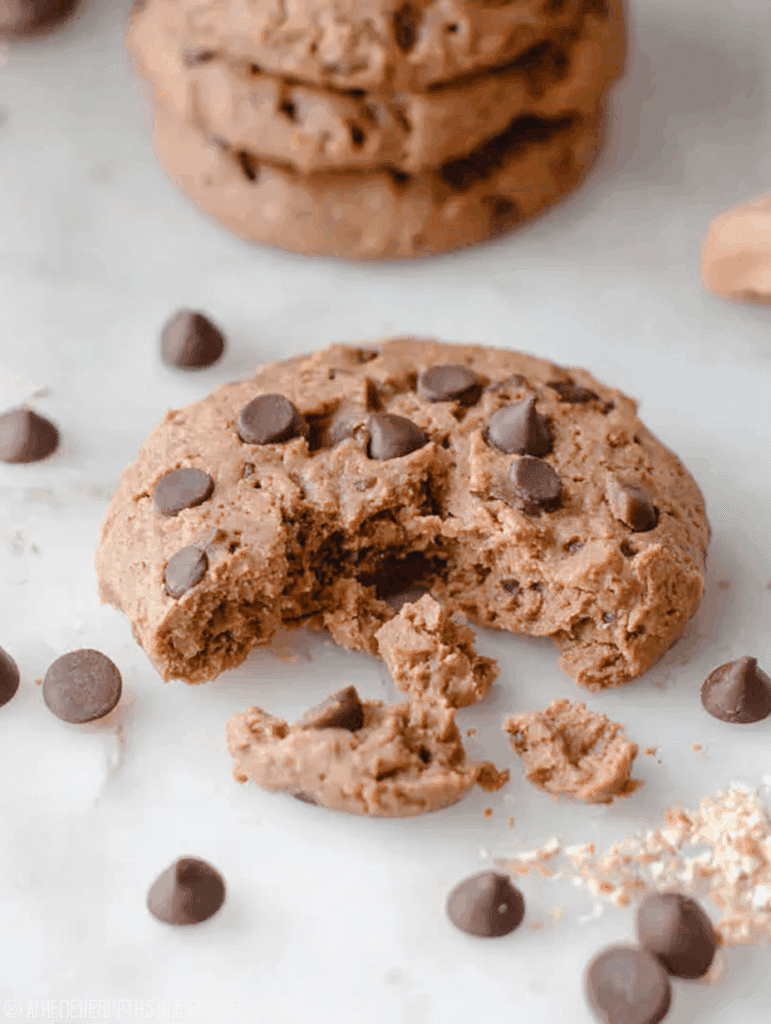
Your goal is a soft, pliable dough that holds its shape but doesn’t stick too much to your hands. Roll it into balls or flatten into cookie shapes, then refrigerate for at least 30 minutes.
They’re ready to eat straight from the fridge—and hold beautifully for several days. You can even toss a few into your lunchbox or gym bag.
Craving more variety? If you love chewy, oat-based desserts, these oatmeal chocolate chip bars use similar ingredients but give you that baked feel—with zero oven time.
Common Mistakes to Avoid When Mixing
Too much protein powder: It dries out the dough fast. Always measure with a light hand, and adjust slowly.
Not adjusting for different powders: Plant-based powders are thirstier—use extra nut butter or a splash of milk.
Overmixing: Once the dough comes together, stop mixing. Overworking it can make it dense and stiff.
Skipping the chill time: The dough sets up in the fridge. If you skip this, the cookies may be too soft to handle.
Consistency really is everything here. Once you get the hang of the dough, you’ll find endless ways to tweak the flavor—cocoa powder, cinnamon, chopped nuts, or even mini chocolate chips.
Next up, let’s explore some ingredient swaps so you can make this recipe fit your exact needs.
Ingredient Swaps to Fit Your Lifestyle
Life gets busy, ingredients run out, and dietary needs vary. That’s why this recipe is so well-loved—it’s flexible. You can swap flours, nut butters, and sweeteners based on what you have or what your body needs. And the best part? The taste still hits every time.
Nut Butter Options and Their Benefits
Nut butter isn’t just the glue holding these cookies together—it adds healthy fats, creamy texture, and flavor depth. Here are a few alternatives and what they bring to the mix:
- Peanut Butter: Classic, affordable, high in protein. Adds a slightly salty-sweet balance.
- Almond Butter: Lighter in flavor, slightly more nutritious with vitamin E and magnesium.
- Cashew Butter: Ultra-creamy and naturally sweet. Great if you want a softer, dessert-like cookie.
- Sunflower Seed Butter: A nut-free option perfect for school lunches or sensitive diets.
If your nut butter is too stiff or dry, microwave it for 10 seconds to make it easier to stir into your dough. And make sure it’s the natural kind with no added oils or sugars—you want clean energy, not processed extras.
Oat Flour vs Almond Flour: Which to Choose and Why
Both oat and almond flour work beautifully, but they have different effects:
| Flour Type | Texture | Flavor | Best For… |
|---|---|---|---|
| Oat Flour | Chewy, soft | Mild, neutral | Balanced, classic cookie feel |
| Almond Flour | Tender, rich | Slightly nutty | Lower-carb or grain-free goals |
Oat flour is perfect if you love that oatmeal-cookie comfort, while almond flour adds a soft bite and pairs well with chocolate or cinnamon. You can even blend them for a unique texture.
Prefer to skip store-bought flours? Just pulse rolled oats in a blender until fine for a DIY version. That’s what we do in these frozen banana Snickers—another raw snack that delivers protein without sacrificing flavor.
Sweetener Swap: Maple syrup and honey both work well, but you can experiment with date syrup or agave if needed. Stick to thicker sweeteners to avoid throwing off the dough texture.
In the end, what matters most is making a version that works for your goals—whether you’re going grain-free, low sugar, or nut-free. These cookies flex with you.
Now let’s look at how to store your batch and a few creative ways to repurpose them beyond just cookies.
Easy Storage + Creative Ways to Enjoy Them
You’ve mixed, shaped, and chilled your batch—now what? These no bake protein cookies are made for convenience, so storing and reusing them should be just as easy. Whether you’re meal prepping for the week or grabbing one on your way out the door, they’re built to fit your schedule.
How to Store Them for Weeklong Snacking
Once the cookies are shaped and set, keep them stored in an airtight container. Here’s how to make them last:
- In the fridge: Keeps fresh for up to 7 days. Perfect for daily snacking or post-gym fuel.
- In the freezer: Freeze for up to 2 months. Let thaw at room temp for 10 minutes or microwave for 8–10 seconds before eating.
- Room temp (short-term): Safe for about 24–36 hours if kept cool and out of direct sunlight—great for packed lunches or road trips.
Pro tip: Add a sheet of parchment between layers to keep them from sticking.
If you’re a fan of batch prepping snack-sized desserts like these mini protein cheesecakes, you’ll love the grab-and-go simplicity of this recipe. Make double, freeze half, and thank yourself later.
Turn Cookies into Protein Bites, Bars, or Ice Cream Sandwiches
Who says you have to keep the cookie shape?
- Protein bites: Roll smaller balls and coat them in cocoa powder, shredded coconut, or chopped nuts.
- Bars: Press the dough into a parchment-lined loaf pan, chill, and slice into squares.
- Ice cream sandwiches: Flatten two cookies and sandwich a scoop of banana “nice cream” or low-sugar frozen yogurt between them.
You can even crumble the cookies over oatmeal or smoothies for a textured protein boost—similar to what we do in banana protein pancakes for that added bite and balance.
These cookies don’t just check the “healthy snack” box. They’re proof that protein doesn’t have to be boring. With a few smart tweaks, this one recipe gives you endless ways to enjoy sweet satisfaction while staying aligned with your goals.